Overview Customizing conversation flows in your chatbot allows you to tailor the experience to your specific needs,
Target keywords (5-7)- healthcare technology
- AI healthcare
- healthcare technology AI software
- healthcare automation
- practice management AI
Full Article
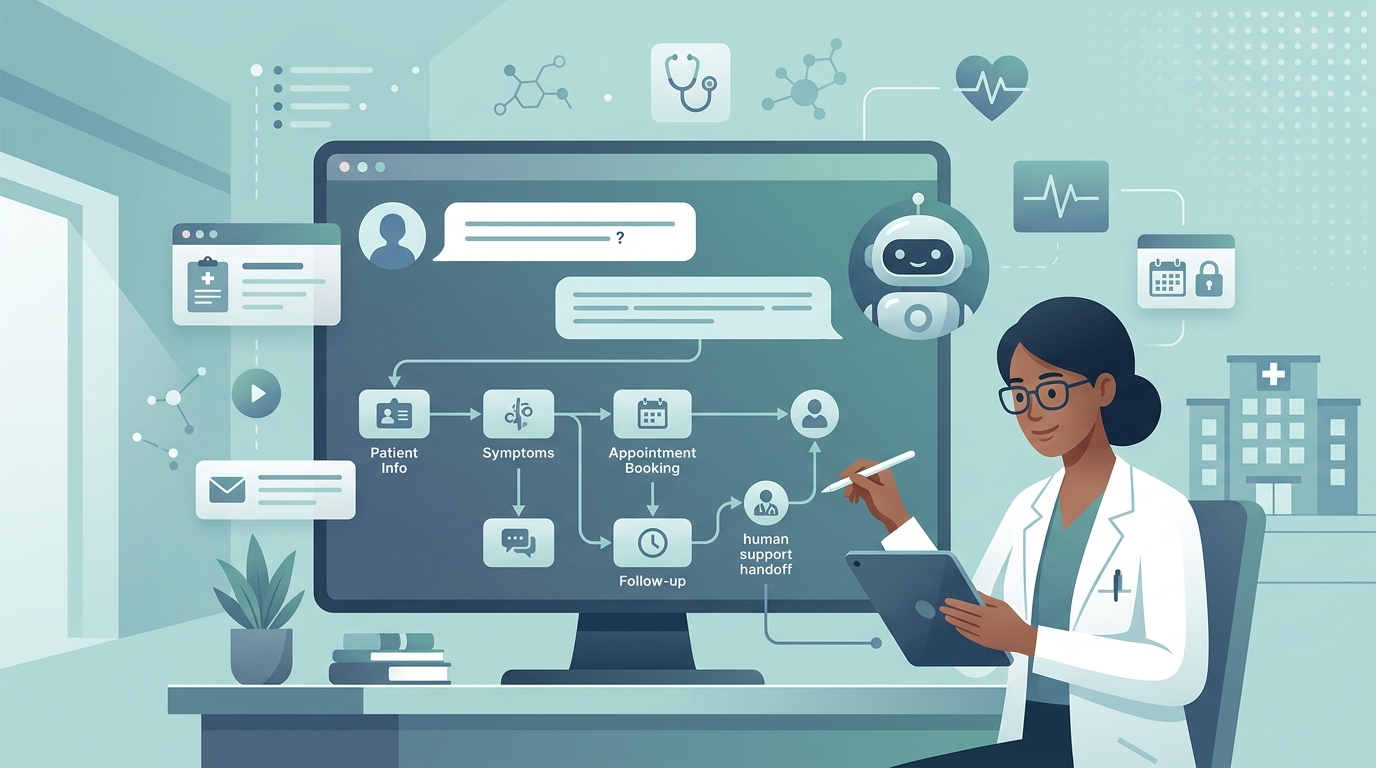
Chatbot: Customizing conversation flows
Overview
Customizing conversation flows in your chatbot allows you to tailor the experience to your specific needs, ensuring that users receive relevant and helpful responses. By following this guide, you'll learn how to create personalized conversation flows that enhance user engagement and improve overall satisfaction.
Prerequisites
Before you start customizing conversation flows, make sure you have a chatbot set up in your account and have a basic understanding of the chatbot's interface. You should also have the necessary permissions to edit chatbot settings.
Step-by-Step Guide
- Log in to your account and navigate to the Chatbot section. Click on the "Conversation Flows" tab to access the flow editor.
- Click the "Create New Flow" button to start building a new conversation flow. Give your flow a descriptive name and click "Save" to proceed.
- In the flow editor, you'll see a visual representation of your conversation flow. Click on the "Add Node" button to create a new node, which represents a specific point in the conversation.
- Configure the node by selecting the trigger type (e.g., user input, intent, or event) and setting up the corresponding conditions and actions.
- Connect nodes to create a flow by dragging and dropping the connection arrows between them. You can also use the "Add Condition" and "Add Action" buttons to further customize each node.
- Click the blue "Save" button in the top right corner to save your changes. You can also click the "Test Flow" button to simulate a conversation and test your flow.
- To deploy your customized conversation flow, click the "Publish" button. Your chatbot will now use the new flow to engage with users.
Common Issues
If your flow is not saving, check that you have the necessary permissions and that you've filled out all required fields. If your chatbot is not responding as expected, review your node configurations and ensure that the conditions and actions are set up correctly. If you're experiencing issues with user input, check that the intent and entity recognition settings are configured properly. If your flow is not publishing, check that you've saved all changes and that there are no errors in the flow editor. If you're still having trouble, try resetting the flow to its default state and rebuilding it from scratch.Related Articles
"Chatbot: Setting up intents and entities" - Learn how to configure intent and entity recognition to improve user input understanding. "Chatbot: Integrating with external services" - Discover how to integrate your chatbot with external services to enhance its capabilities. "Chatbot: Analyzing conversation data" - Find out how to use conversation data to refine your chatbot's performance and improve user experience.Still Need Help?
If you're having trouble customizing your conversation flows or have questions about the process, don't hesitate to reach out to our support team. Click the "Contact Support" button to submit a ticket, and we'll be happy to assist you in getting the most out of your chatbot.
[Screenshot: Contact Support button]
Ready to stop losing patients to voicemail?
See how MedReceptionist handles your call types in a 15-minute demo.
Book Your Demo